Guide · updated September 8, 2026
How to take your own professional headshot with a phone
You do not need a photographer for a headshot that looks professional on LinkedIn, a company page or a conference badge. You need soft light from one side, a plain wall two meters behind you, a phone held at eye level by something that is not your arm, and twenty minutes. Everything else in this guide is detail on those four things.
What a photographer brings that you cannot fake is judgment: they see the shadow under your eyes and move you. So this guide is mostly about what to look for. The steps are in order; the photos show the setup, not the result.
Step by step
- 1
Find the window
Pick the biggest window in the house at a time of day when the sun is not coming straight through it. North-facing at any hour, or any window in the morning or late afternoon on the shaded side. Direct sun is the one light you cannot use.
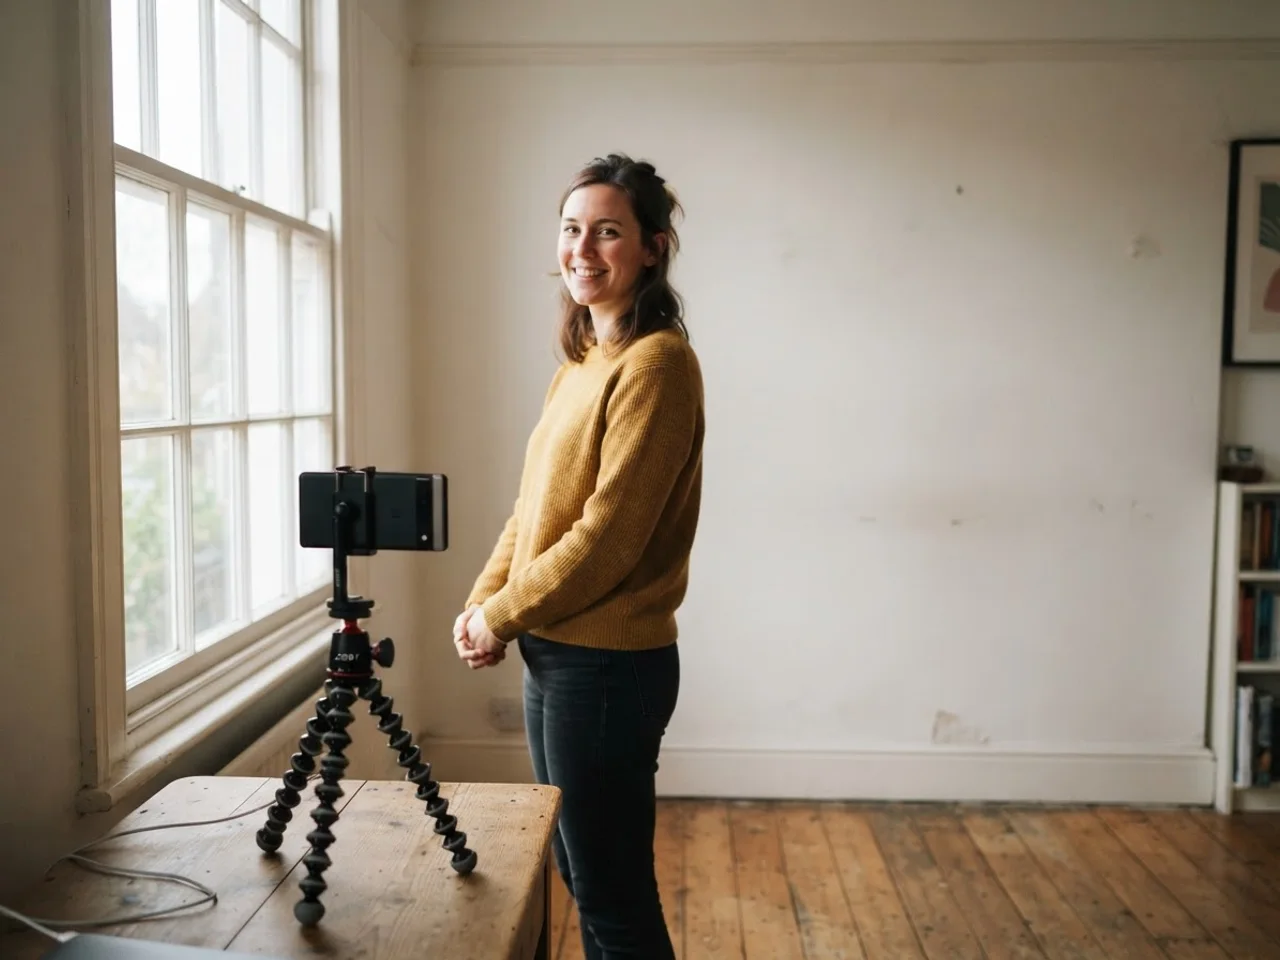
One meter from the window, body at 45 degrees to it. The light wraps across the face instead of flattening it. - 2
Stand at 45 degrees to it
Do not face the window and do not put it behind you. Stand so the window is off to one side, about 45 degrees from where you are looking. One side of your face gets more light than the other; that is what makes a face look three-dimensional instead of like a passport photo.
- 3
Put a plain wall two meters behind you
Any plain, light wall works. Step away from it: two meters is enough for the phone to blur it slightly and for your shadow to fall out of frame. If you cannot get a plain wall, do not worry about it; the background changer fixes that later and it is the one thing software does perfectly.
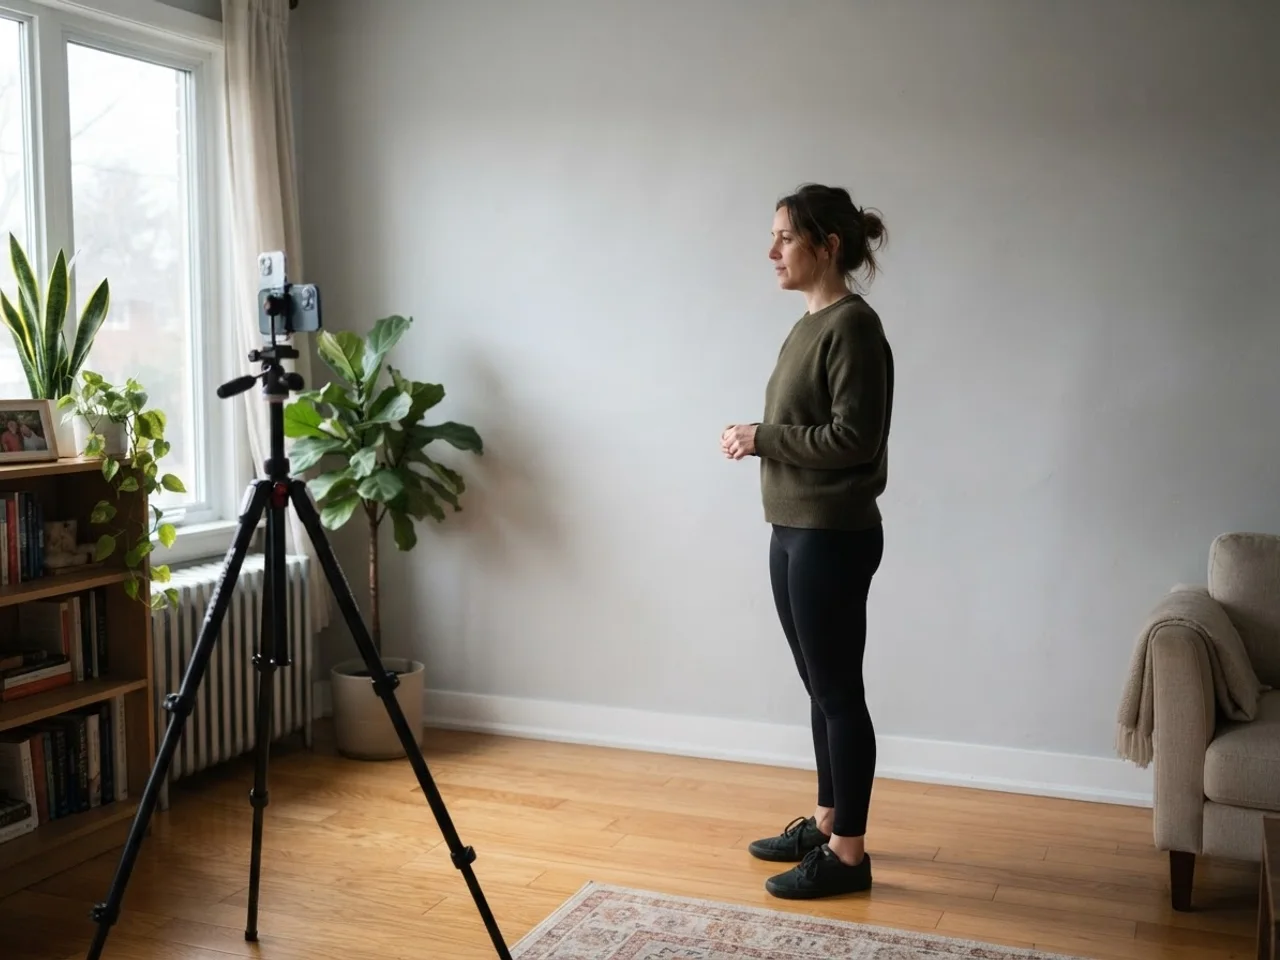
Two meters from the wall. Closer and your shadow lands on it; farther and you are in the middle of the room. - 4
Get the phone to eye level without holding it
A tripod is ideal. A stack of books on a table, with the phone leaning against the top one, works exactly as well. The lens should be at the height of your eyes or a touch above. Below eye level makes chins bigger; well above makes heads bigger.
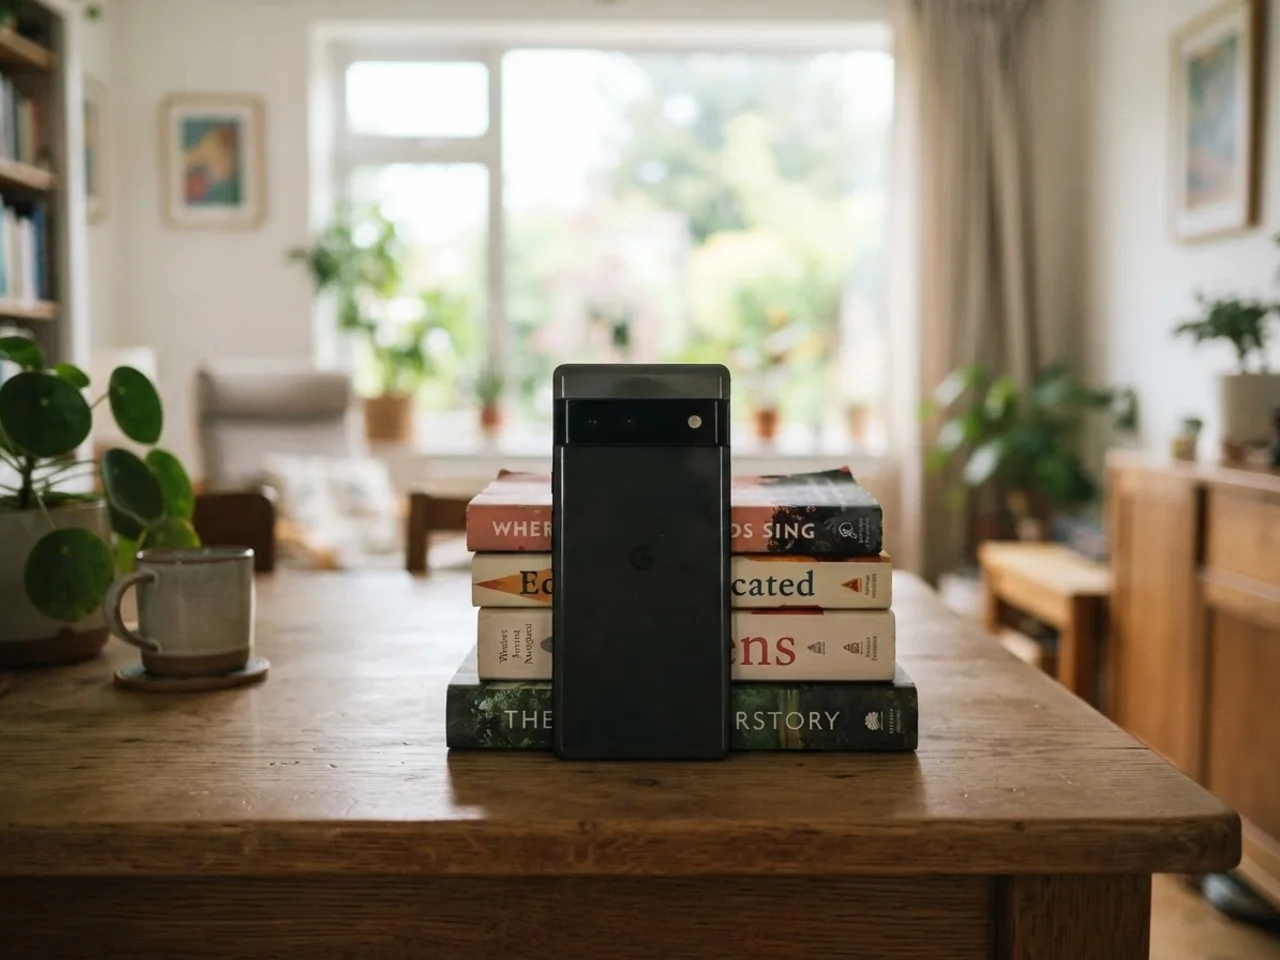
The rear camera, not the selfie camera. Books get it to eye height in thirty seconds. - 5
Use the rear camera and step back
The rear camera is sharper and does not distort. Stand about 1.5 meters from the phone. On a phone with a 2× or 3× lens, use it and step back further: the longer lens flattens the face the way an 85mm portrait lens does. The wide 1× lens up close makes noses bigger.
- 6
Set a timer and shoot thirty
Ten-second timer, burst if the phone has it. Between shots change one thing: chin down a little, shoulders back, the small smile, the bigger smile, eyes to the lens, eyes just above the lens. Thirty frames is not vanity; a photographer would take two hundred.
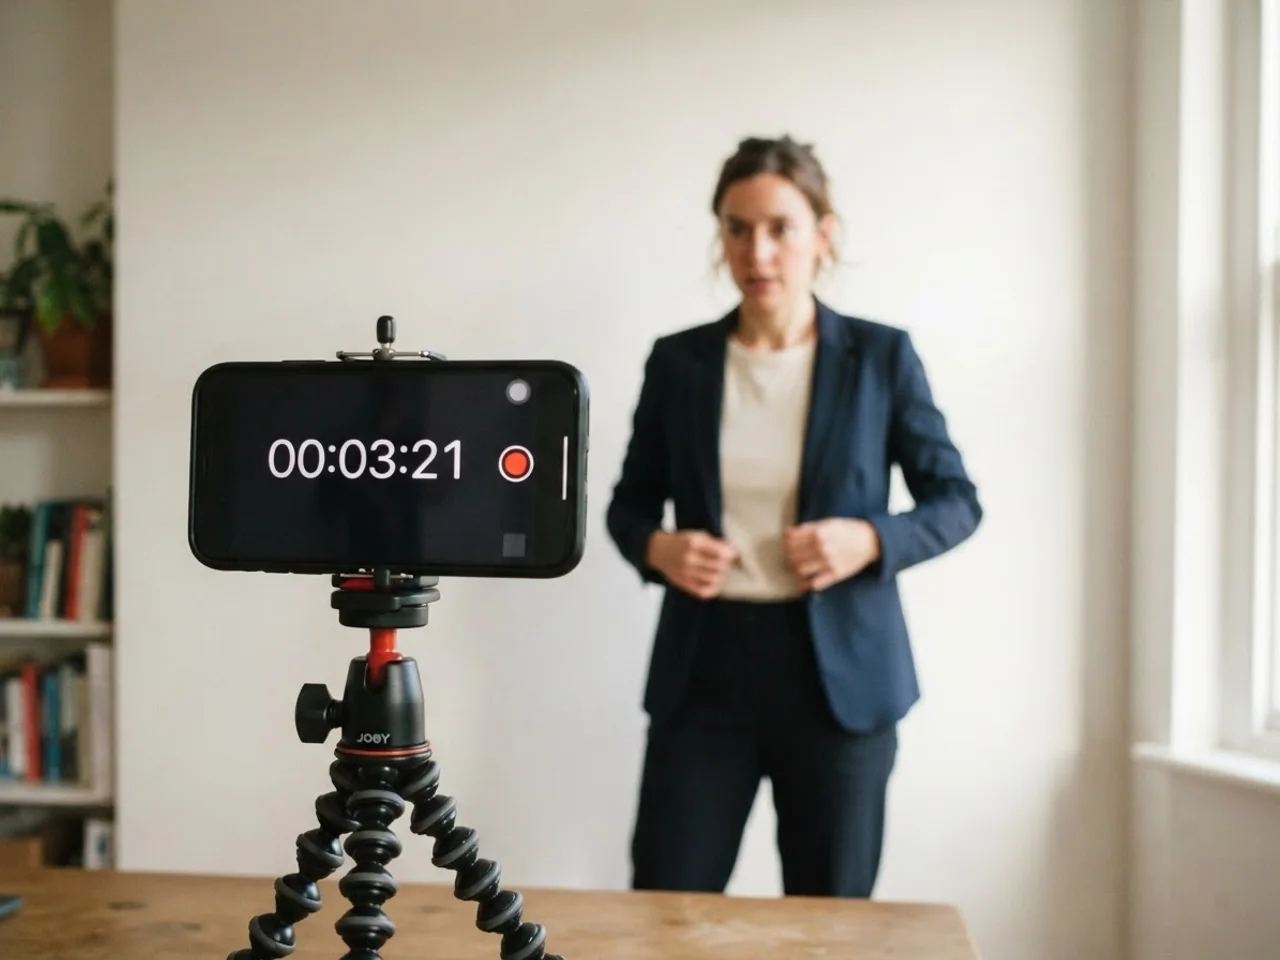
Timer on, hands off the phone. Look at the lens, not at yourself on the screen. - 7
Pick the frame where you look like you on a good day
Not the most flattering one. The one where the expression is relaxed and the eyes are open and lit. Recruiters and clients meet the photo first and the person second; the closer the two are, the better the meeting goes.
- 8
Fix the background, then crop
Swap the wall for a studio gray or an office with the headshot background changer, then crop to the platform with the LinkedIn resizer: eyes in the upper third, face filling two thirds of the square. Both are free and run in the browser.
Why window light beats every lamp you own
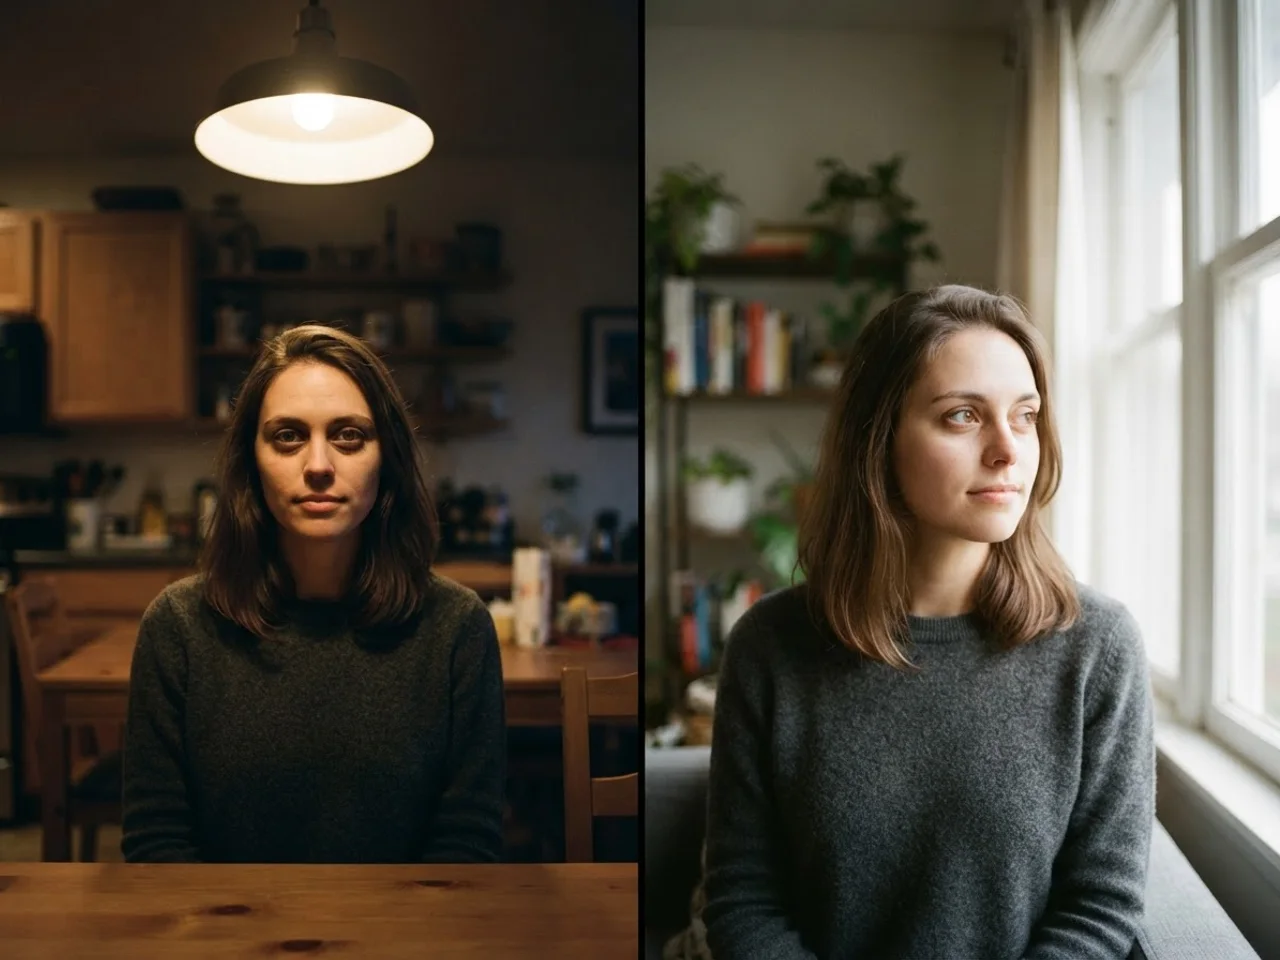
A headshot lives or dies on the light, and the light that works is big, soft and coming from one side. A window is big and soft by nature: the sky, not a bulb, is the source, and it is a meter wide instead of a centimeter. Overhead room lights are the opposite. They are small, they are above you, and they carve shadows into the eye sockets and under the nose. Ring lights are better than ceiling lights but they sit on the lens axis, so they flatten the face and leave a ring in the eyes that every photographer recognizes.
The reason for the 45-degree angle is the same. Light from the front flattens; light from one side shapes. The far side of the face should be a little darker, not black. If it goes too dark, hold a sheet of white paper or a white pillowcase on that side, out of frame, to bounce light back in. That is the entire secret of a reflector.
Phone settings that matter, and the ones that do not
| Setting | What to do | Why |
|---|---|---|
| Camera | Rear camera, 2× or 3× lens if you have one | Longer lens, less distortion, closer to a real portrait lens |
| Portrait mode | On, but at the weakest blur (f/4 to f/5.6 on iPhone) | Strong blur eats hair and glasses at the edges; weak blur looks like a real lens |
| Flash | Off | It overrides the window and flattens everything |
| HDR / Smart HDR | Leave on | Keeps the window side from blowing out |
| Exposure | Tap your face, drag the sun icon down a touch | Skin should not be the brightest thing in the frame |
| Resolution | Highest available, no zoom beyond the optical lenses | You will crop later; digital zoom throws away pixels |
| Filters, beauty mode | Off | Smoothed skin reads as fake at profile size and worse in person |
| Timer | 10 seconds, burst if available | Your arm is not in the frame and your face has time to settle |
If your phone has a "photographic styles" or "tone" setting, leave it on standard. Every automatic warming or contrast style looks fine on a beach and wrong on a face against a plain wall.
What to wear
Solid colors, mid to dark tones, no patterns, no logos, no text. A navy or charcoal blazer over a plain shirt is the answer for most industries and the reason it is the answer is that it disappears: the viewer looks at your face. White shirts work under a jacket and fail alone against a light wall. Bright red and neon anything pull the eye off the face; skip them.
Iron the shirt. Phones are sharp enough that a wrinkled collar shows at profile size. Glasses are fine, but tilt them down a millimeter or turn a few degrees away from the window if you see the window reflected in them.
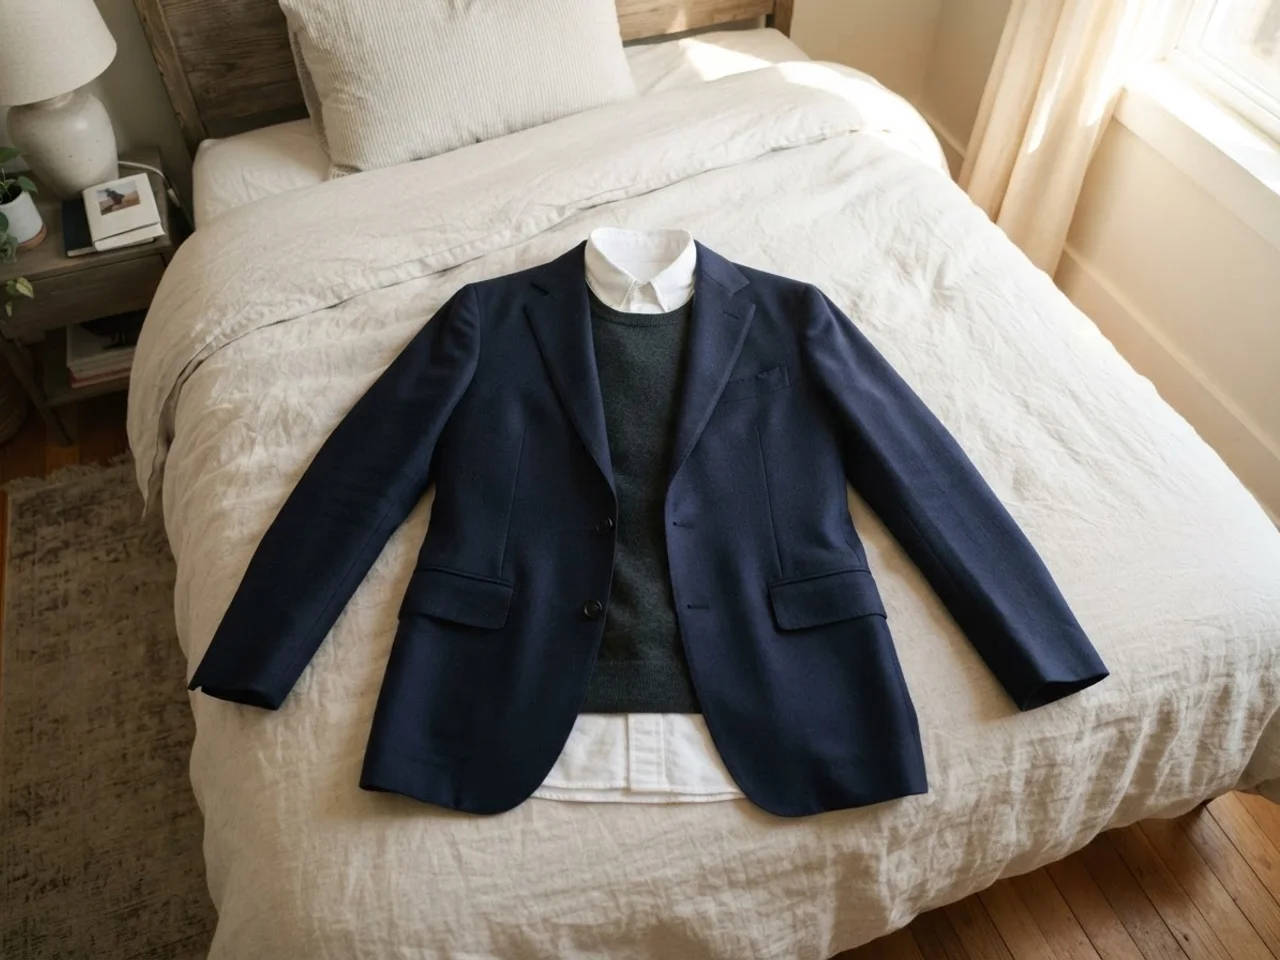
The full guide to colors, necklines and what each industry expects, with examples for men and women.
Business headshot outfits →Framing and posture
- ·Chest up. The bottom of the frame at mid-chest, a hand of space above the hair. You will crop tighter later; give yourself room.
- ·Turn the body 20 to 30 degrees away from the camera, then bring the face back to the lens. Shoulders square to the camera look like a mugshot.
- ·Chin forward and slightly down. It feels odd and it defines the jaw. Every photographer says "chin out" for a reason.
- ·Weight on the back foot, shoulders down and back. Standing tall changes the neck and the collar.
- ·Eyes to the lens, not the screen. If you are using the selfie camera to check, stop; the rear camera and a timer are worth the trouble.
- ·Smile with the eyes first. Think of something that actually amused you and let the mouth follow. A held smile goes flat in three seconds, which is why you shoot thirty frames and pick.
Fifteen poses that work for headshots, with a photo of each and who it suits.
Headshot poses guide →After the shoot: the two edits worth doing
Do not retouch the skin. Do not whiten the teeth. Do not use the beauty filter. Those are the edits that make a headshot look like a headshot from an app, and everyone can tell. The two edits that make it look like a studio photo are the background and the crop.
The background changer cuts you out and drops you on a studio gray, a slate blue, an office window or a bookshelf, at the original resolution, in seconds. Pick the one that matches your industry and your outfit. Then the LinkedIn resizer crops the square with the eyes in the upper third and exports the exact size each platform wants, with a preview of how it looks in the 48-pixel circle of a feed. Both are free and neither uploads your photo anywhere.
Swap the wall behind you for one of 25 studio, office and outdoor backdrops, free.
Change the headshot background →When to pay a photographer instead
When the photo will be printed large, when a whole team needs to match and nobody has the patience to coordinate windows, when you are an actor or a model and the headshot is the product, or when you have tried this twice and hated both. A good headshot session costs 150 to 400 dollars in most US cities and takes an hour. That is reasonable for a photo you will use for three years.
The middle option is an AI headshot pack: upload ten selfies, get a set of studio-quality photos in different outfits and backgrounds. It costs a fraction of a session and the results are consistent across the set, which is what team pages need. It will not fix a bad expression, though; nothing does.
See what AI headshots look like across twelve professions, generated from ordinary selfies.
Headshot examples →Mistakes to avoid
Using the selfie camera
It is wider, softer and closer to your face than a rear lens can be, so noses and foreheads grow. Rear camera on a timer, every time.
Standing against the wall
Your shadow lands on it and the wall is in focus. Two meters of separation is the fix.
Window behind you
The phone exposes for the bright window and your face goes dark. Window to the side, always.
Ceiling light on
Turn off every light in the room. Mixed light gives a yellow cast on one side and blue on the other.
One shot
The first frame is never the one. Thirty frames, change one thing each time, pick later on a bigger screen.
Cropping loose
A full-body photo in a 48-pixel circle is a dot. Head and shoulders, eyes in the upper third.
Want the studio version without the studio?
Upload a few selfies and get a full set of professional headshots in different outfits and backgrounds. Consistent across the set, ready for LinkedIn and the team page.
Frequently asked questions
Can I take a professional headshot with my phone?
Yes. A phone from the last five years has enough resolution and dynamic range. The differences between a phone photo and a studio photo are light, background and lens, and two of those you control with a window and a plain wall, while the third, the lens, is softened by using the 2× or 3× camera and stepping back.
What is the best time of day?
Whenever the sun is not shining directly through your window. For most windows that is morning or late afternoon; for a north-facing window, any time. Overcast days are the easiest of all.
Should I use portrait mode?
Yes, at the weakest blur setting. Portrait mode at full strength cuts into hair, glasses and ears. At f/4 to f/5.6 it softens the wall the way a real lens would without eating the edges.
How far should I stand from the camera?
About 1.5 meters with the 1× lens, 2 to 2.5 meters with a 2× or 3× lens. Farther and longer is always more flattering than closer and wider.
What background should I use?
A plain, light wall for the shoot, then whichever backdrop suits your industry afterwards. Studio gray or slate blue for corporate and LinkedIn, an office scene for senior roles, a bookshelf for advisors. The background changer does this without any editing skill.
What should I wear for a headshot?
Solid mid-to-dark colors, no patterns or logos. A navy or charcoal jacket over a plain shirt is safe for almost every field. Avoid white alone against a light wall and avoid bright red.
Do I need to smile?
A small, closed-mouth smile with engaged eyes reads as confident and approachable, which is what most roles want. A full smile works for sales, teaching and creative fields. A neutral expression suits law, finance and executive roles. Shoot all three and decide on the big screen.
How do I take a headshot by myself without a tripod?
Lean the phone against a stack of books at eye height on a table or a shelf. Use the timer or a volume button on wired earphones as a remote. That covers everything a tripod does for a headshot.